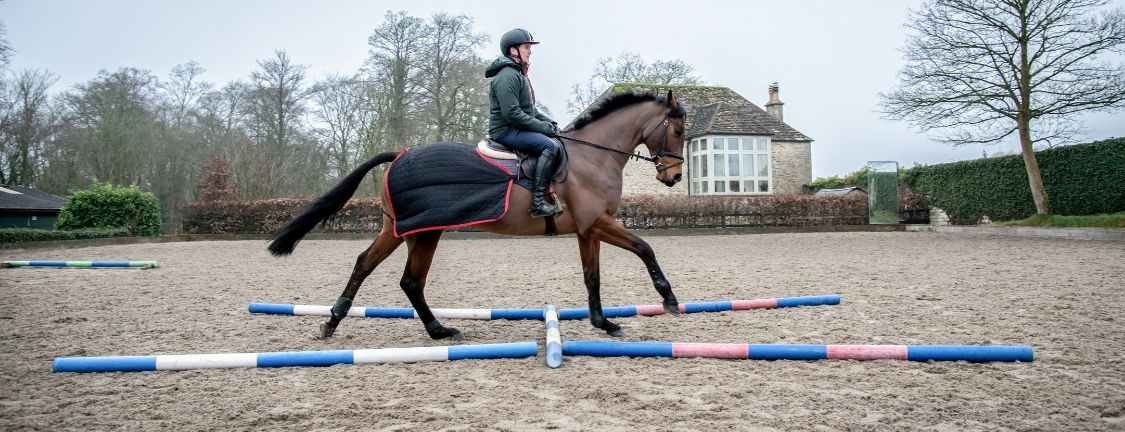
In the first of our three-part series with British eventer Tom McEwen, we asked Tom for top tips on how to see a stride without leaving the ground. All this simple exercise requires is 4 poles and confidence from the rider to let the horse figure it out themselves. Keep your eyes peeled for the next blog in the series which will look at riding transitions.
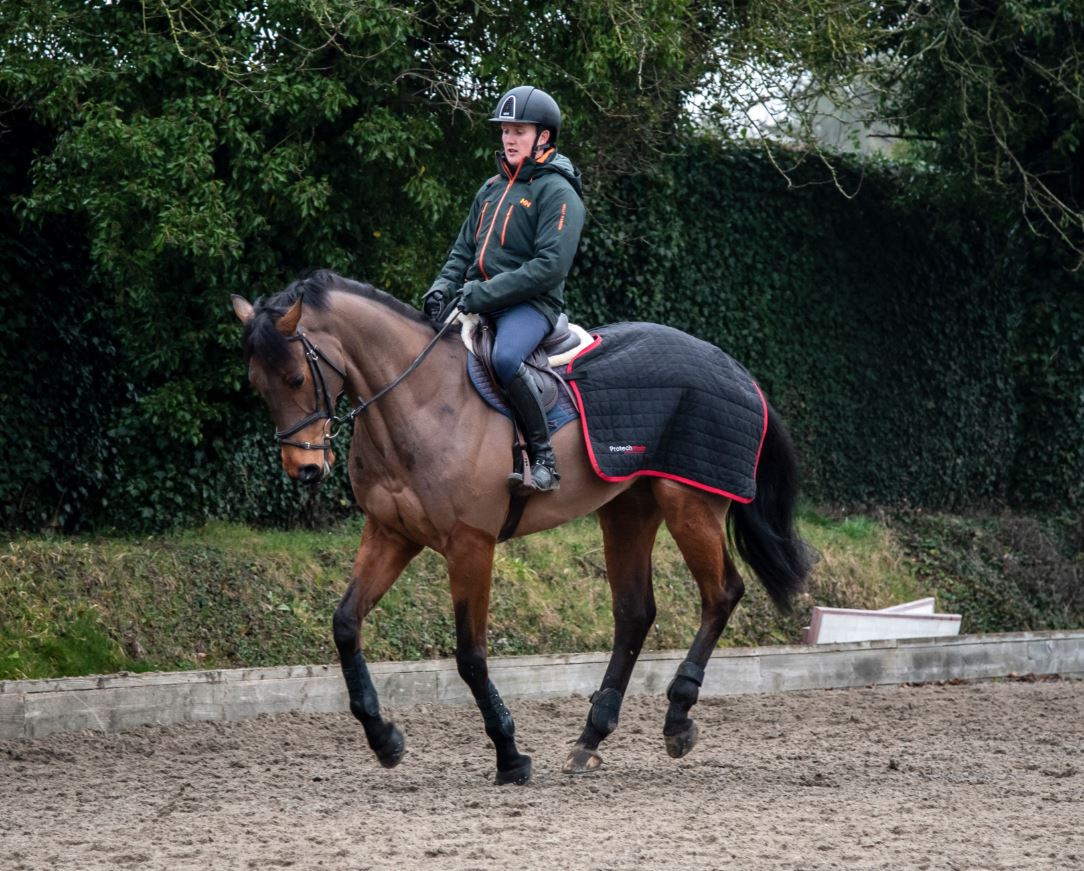
A bit about Tom's horse - the horse Tom chooses to ride to demonstrate how to see a stride is a lovely six-year-old bay gelding called Brookfield Braveheart (Luke) who has been campaigned at Novice level this season.
"Before you try and see a stride, make sure you and your horse are masters of straightness – poles on the ground can help you achieve this."
How to maintain straightness when riding:
Tom comments that poles on the ground are a really nice way to check how straight you and your horse are before you start trying to see a stride. It might seem odd to master seeing a stride without leaving the ground but getting the basics right is key and Tom spends a lot of time going over poles with his horses to keep up their confidence.
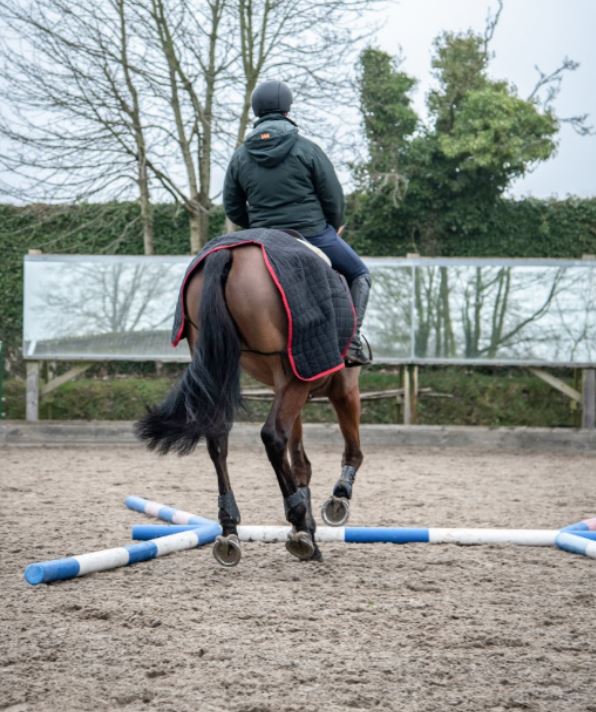
Take one pole and place it somewhere in your arena - it's totally up to you where you place it. Tom suggests starting with it on the long side of the arena and then move it to one of the shorter sides or in the middle of the arena. Then come at it from different angles taking note how straight your horse is on the approach. Focusing on an area of the pole will help you determine how straight you are. Don't focus on striding accuracy at this point - straightness is key to begin with!
Once you're happy that you and your horse can approach the pole in a straight line, Tom says try approaching the pole from a 20m circle, from the circle look at the pole from the other side and stay focused on the pole until the last few strides at which point look up in front of you. If you have a mirror this will help you establish how straight you were, but if you don’t have a mirror, focus on a spot directly ahead of the pole to help keep you straight, this might be a tree or a spot on the fence / in the wall. Again try not to focus on how accurately you meet the pole, if your horse is balanced and in a good rhythm they will figure it out.
The next step in seeing a stride:
Following this Tom randomly places two poles on the long side of the arena, he doesn’t walk out the distance between them, commenting that a random distance will make his horse think for himself. He also mentions that it will help him get to know his horse, does he like chipping in a small stride or prefer to go a long one.
"You can experiment with a pole on the ground, it doesn't matter too much if you meet it on the wrong distance, as soon as it turns into a jump the theory is the same, it's just a pole and if your horse is balanced and you know them well, you'll deal with it together".
Poles on the ground increase jumping confidence and repetition is key. It doesn’t matter if you get the wrong stride with poles, simply soften your hands and let the horse figure it out. Don’t push or hold – Tom emphasizes again that they need to learn to think for themselves and pole work is the safest way to do this. If your horse’s rhythm and balance is correct, your horse will sort it out - the same theory can then be applied to jumping.
With poles on the floor, Tom’s emphasis is on lengthening and shortening Luke’s stride as this teaches him to correct himself in between the poles. While watching Tom go over the poles, he goes over the same two poles in 5, 6, 7 and 8 strides showing how with simple body movements you can lengthen or shorten your horse’s stride.
Before you start jumping do lots of trot and canter transitions to get their hind end activated. If you can master approaching a pole on the ground while adjusting the length of your horse's stride, apply the same theory when jumping.
The next instalment with Tom will look at how to deal with a spooky horse.


